Marketing Banner
Marketing Banner (Free Shipping Banner)

The Global-e Marketing Banner is available to Merchants who offer free shipping options. Merchants can use the standard Banner as a promotional tool or as an informative banner.
By default, the Banner is enabled for every country.
To meet your localisation needs, the banner's promotional message has been translated and is available in twenty-four languages.
Note
If your site does not include the Marketing Banner and you wish to add it, contact us at [email protected]
Access the Marketing Banner
To access the Marketing Banner:
Go to the Global‑e Merchant Portal > Merchant > Site Customisation Screen.
Select the Free Shipping Banner tab.
A preview of your banner is displayed.

The design settings are now available
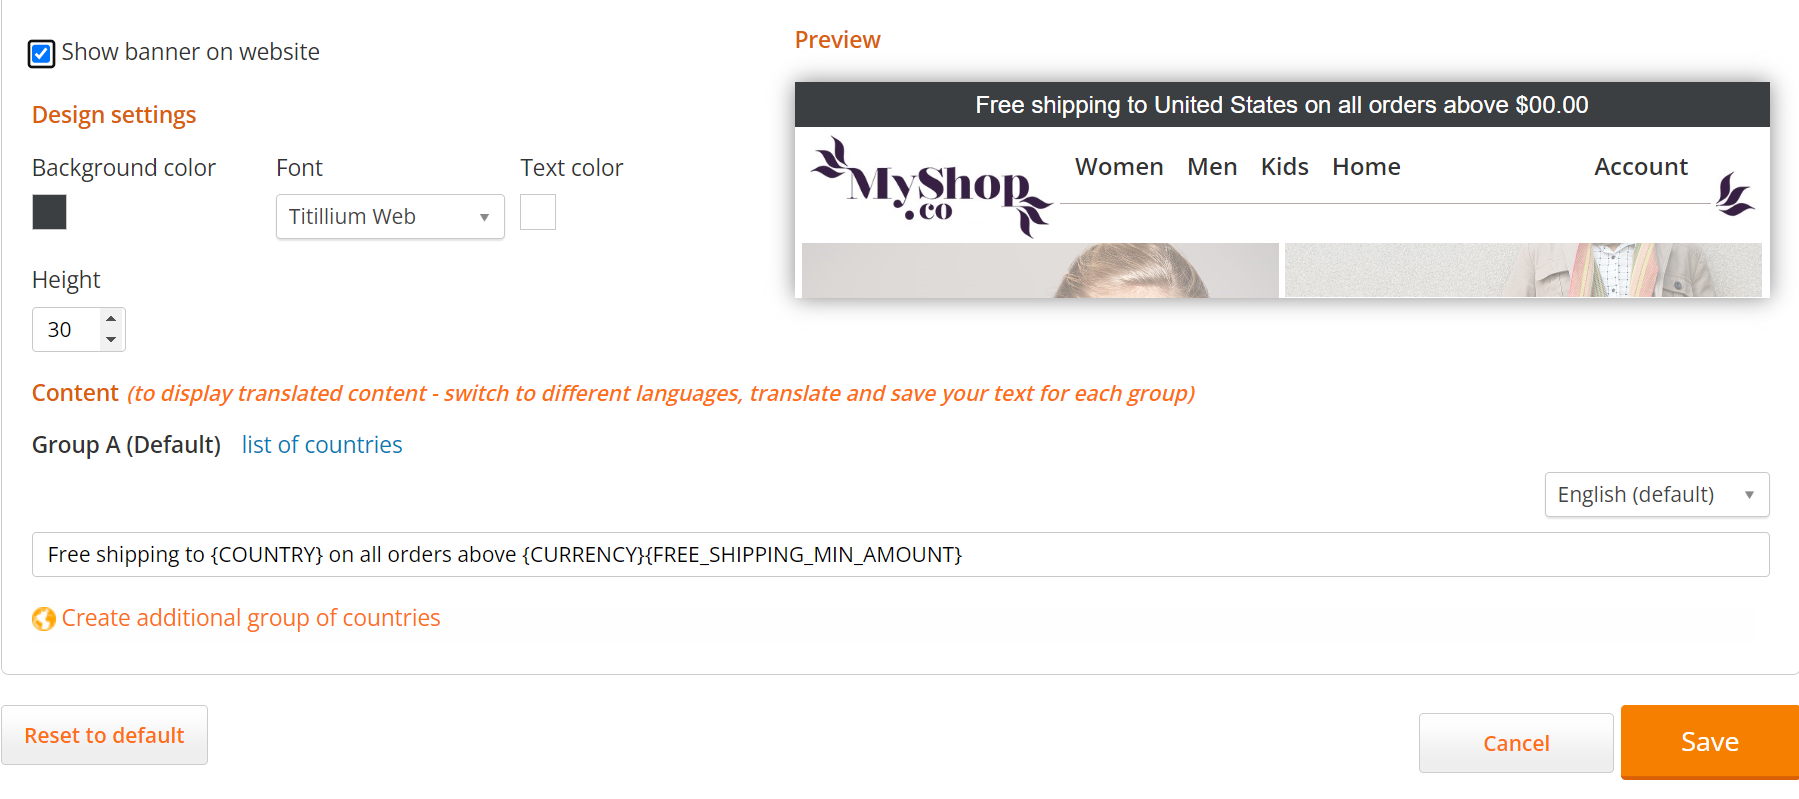
To hide the banner, clear the Show banner on website option.
Use the Banner's Editor to make the following changes to the default banner:
Show or hide the Banner
Position the Marketing Banner
The Free Shipping Banner is inserted as the first element on your storefront. However, if this does not suit your store, Global-e can place the banner in a different location using the ID of an element.
To insert the Free Shipping Banner in your preferred location on your storefront, add a new DIV element with a unique ID into your chosen location and share that ID with Global-e. This gives you complete control of the location of the banner and its position.
For Example:
<div id=”GlobaleFreeShippingBannerContainer”></div>
Customise the Banner's Design
To customise the Banner's design:
Under Design settings, customise the banner's design as detailed below and view your changes in the Preview pane.
Note
Unlike text edits, changes made to the banner's design and appearance are applied to each language and each country.
Field
Description
Change the banner background colour
Click the colour-well next to Background colour and select a colour.
Modify the banner height
In the Height field, specify the height of the banner (in pixels).
Change the font of the banner text
From the Font drop-down, select the banner's text font.
Change the colour of the banner text
Click the colour well next to Text colour and select the colour of the banner text.
Click Save.
Banner Options
Your Marketing Banner page includes a section called Group A with a set of default settings.

Group A includes a default Banner text and a list of countries to whom that banner is displayed.
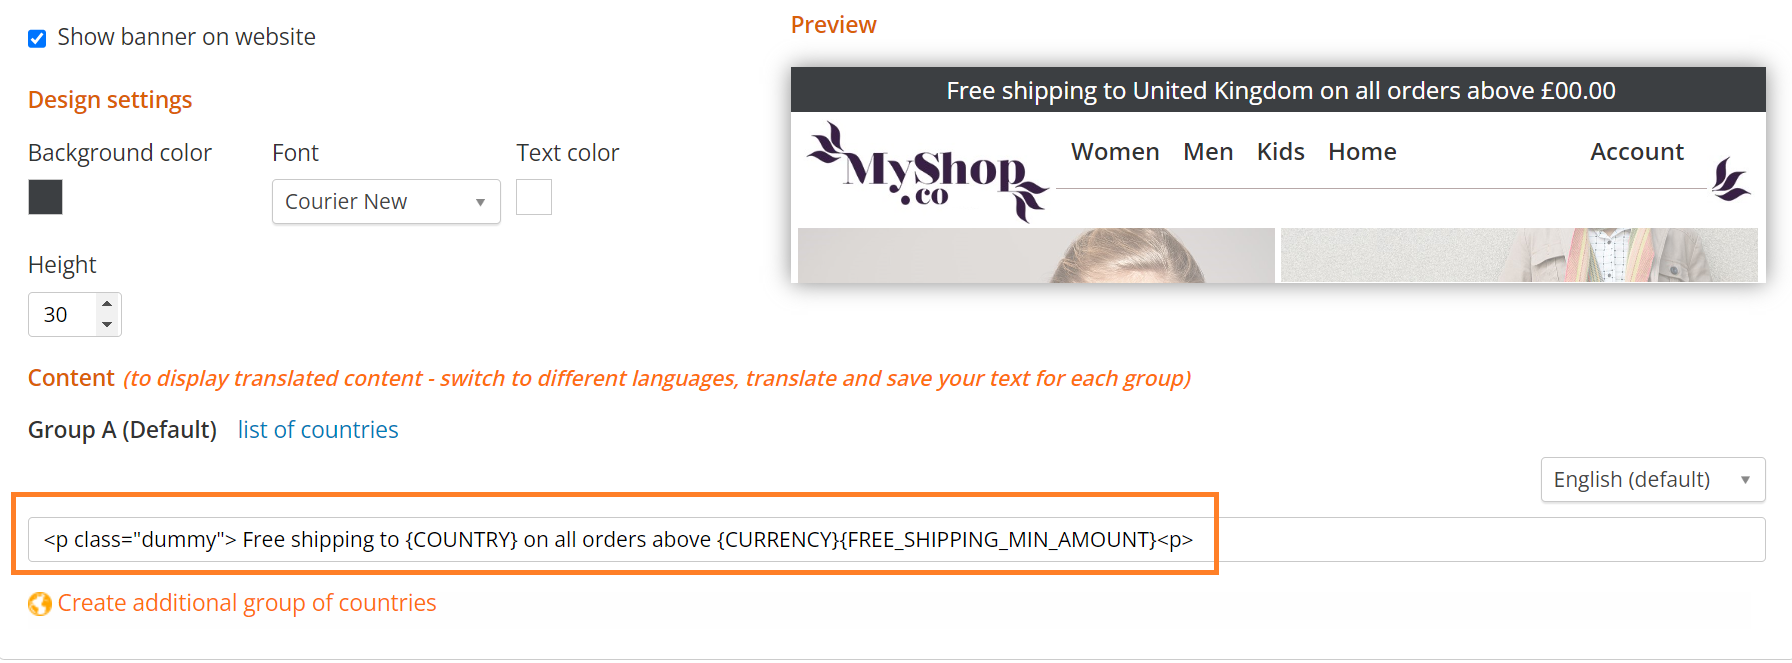
You are free to edit the Banner text as long as you include the default text parameters:
Country Name – the shipping country’s name
Currency – the chosen currency for the shipping country
Free Shipping Minimum Amount – the minimum cart value from which free shipping is offered
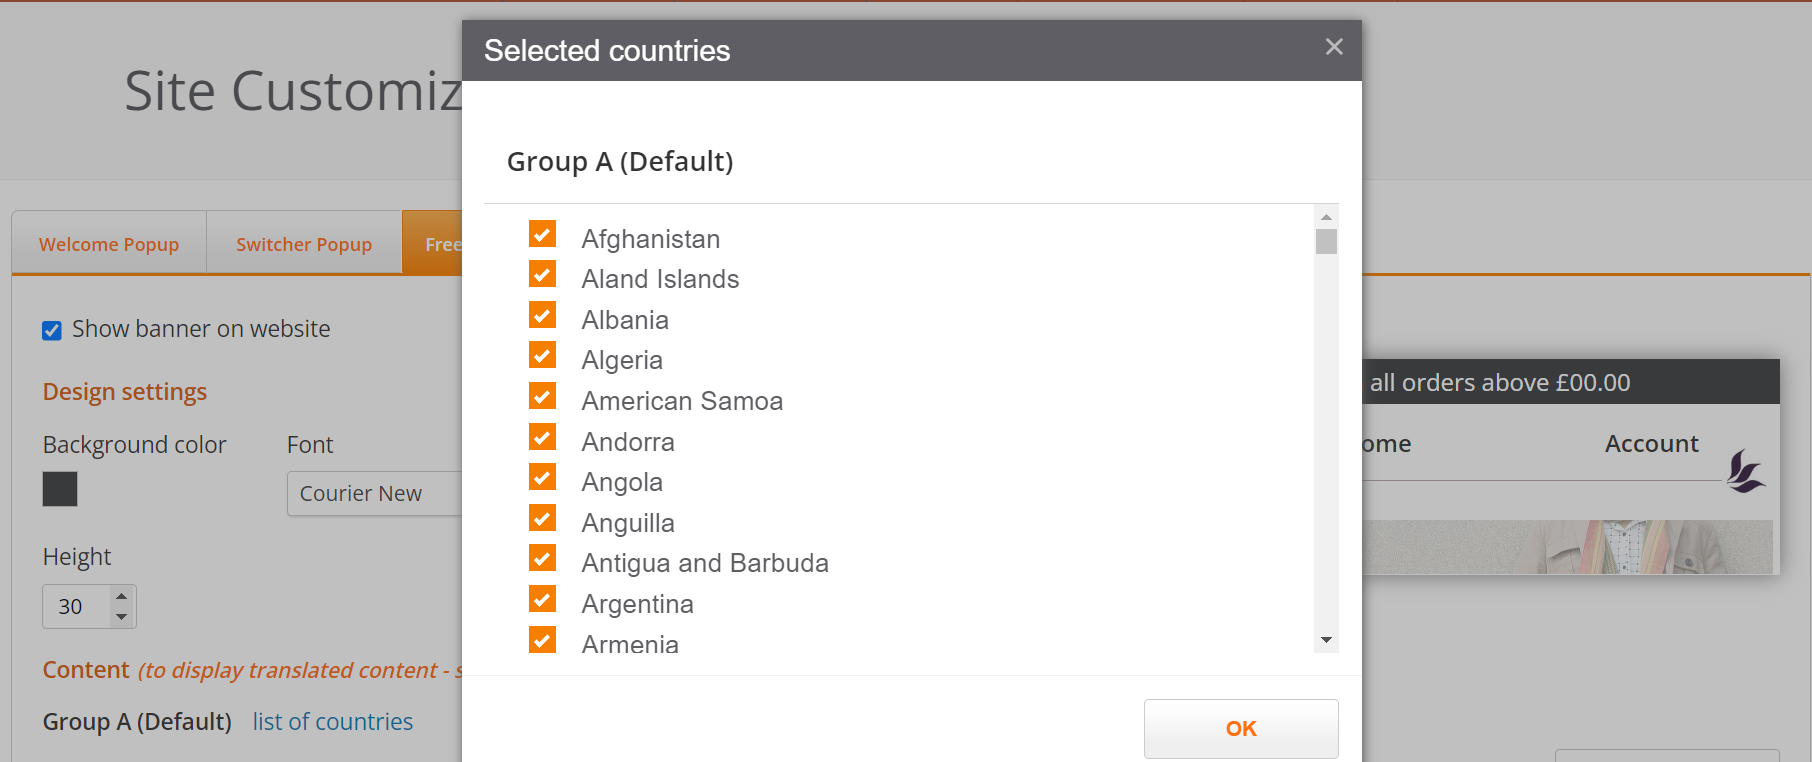
To view the default list of countries:
Above the default text, click on List of Countries
The list of selected countries opens.
To create customized Banner messages and individual country lists, you need to create additional groups.
For more information on creating custom groups go to Create Additional Groups and Banners
Create Customized Banners
Create compelling and targeted Banner campaigns by showing customized messages to visitors in specific countries.
For example, you can show visitors in Europe a banner with one particular message while displaying a different banner message to visitors in Australia.
To create customized Banners and targeted campaigns you need to create additional groups, as detailed below.
Create Additional Groups and Banners
To display customised messages to visitors in different countries, you need to create a new Group for each collection of countries that you are targeting.
To create customised messages for a group of countries:
At the bottom of Design Settings click Create additional group of countries.
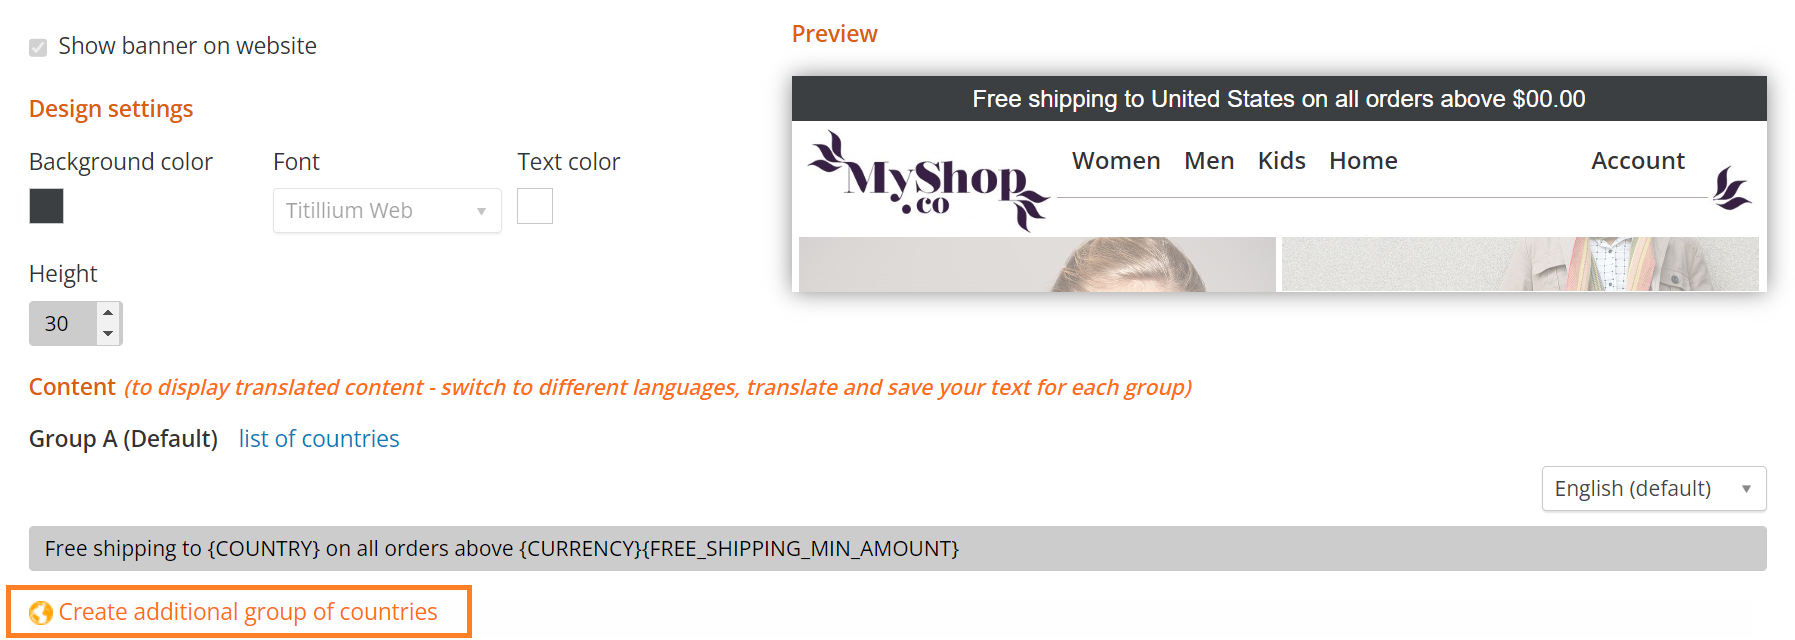
The Create a new group of countries window opens.
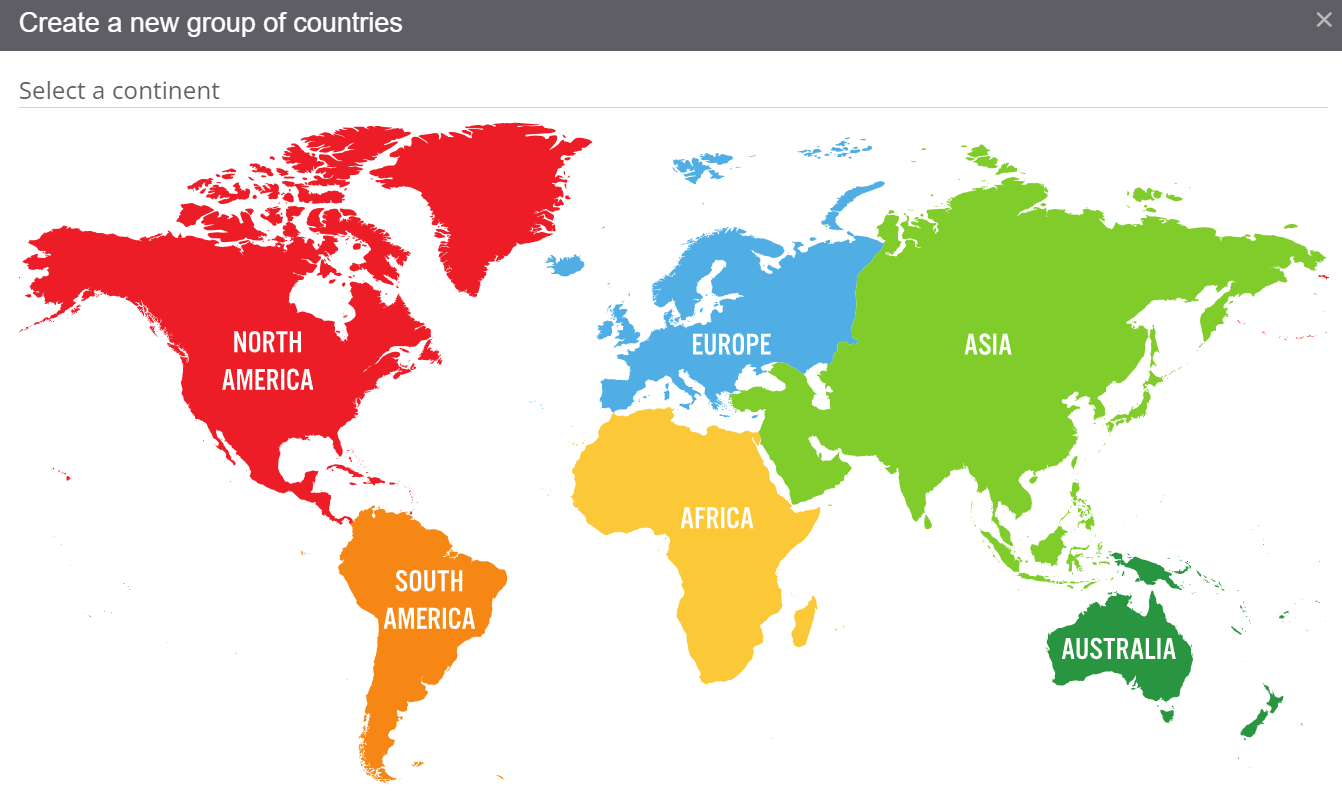
Click on the desired continent.
A list of all the countries in that continent opens.
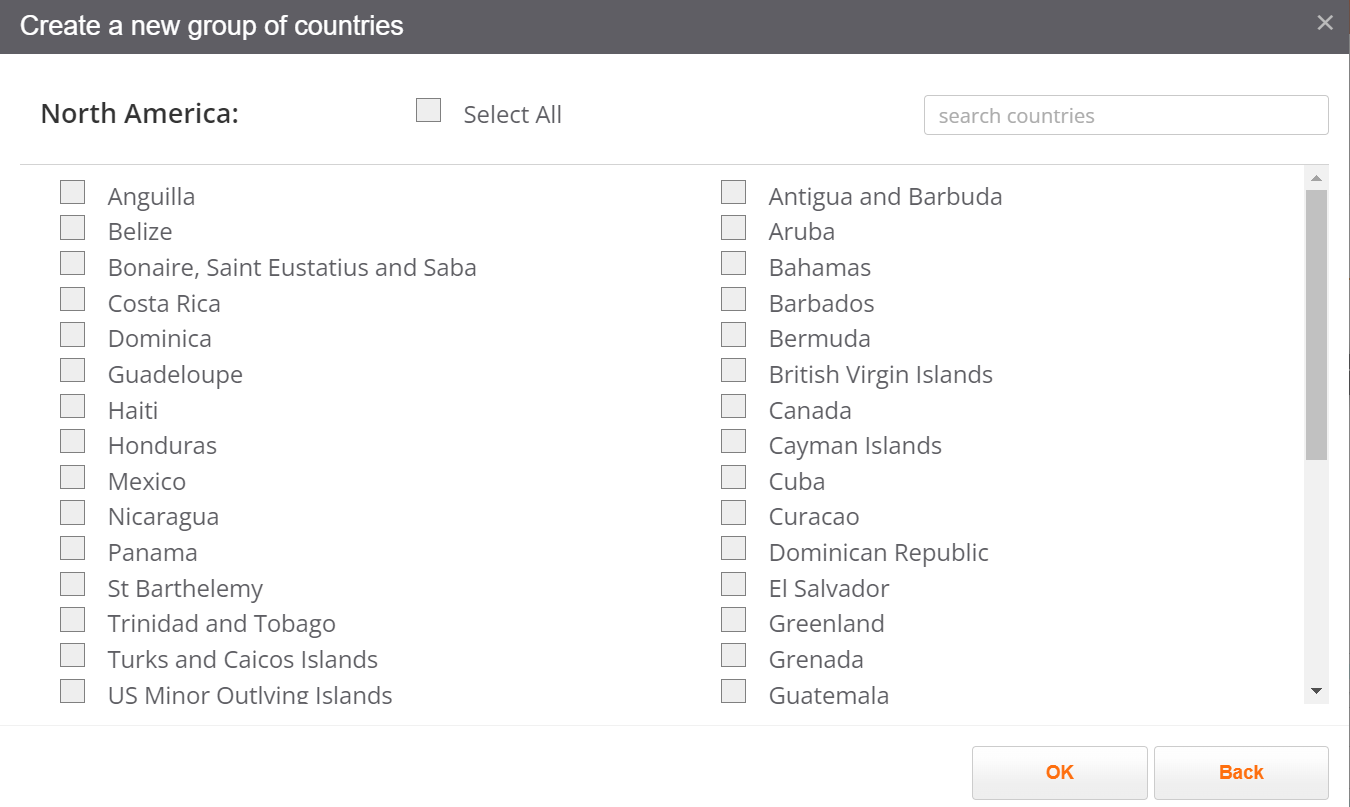
Note
A country can only belong to one group at a time. By default, all countries are members of Group A. When a country is added to an additional group, the country is automatically removed from Group A.
If the name of a country is disabled, it indicates the country has already been added to an existing group.
Select all the countries you want to add to the group > Click OK.
At the bottom of Design Settings, the new group, Group B, now appears under Group A.
Click the pencil icon to edit the name of the group.

In the language drop-down, select the appropriate language for the countries in the group. For example, select Spanish if the group contains Spain.
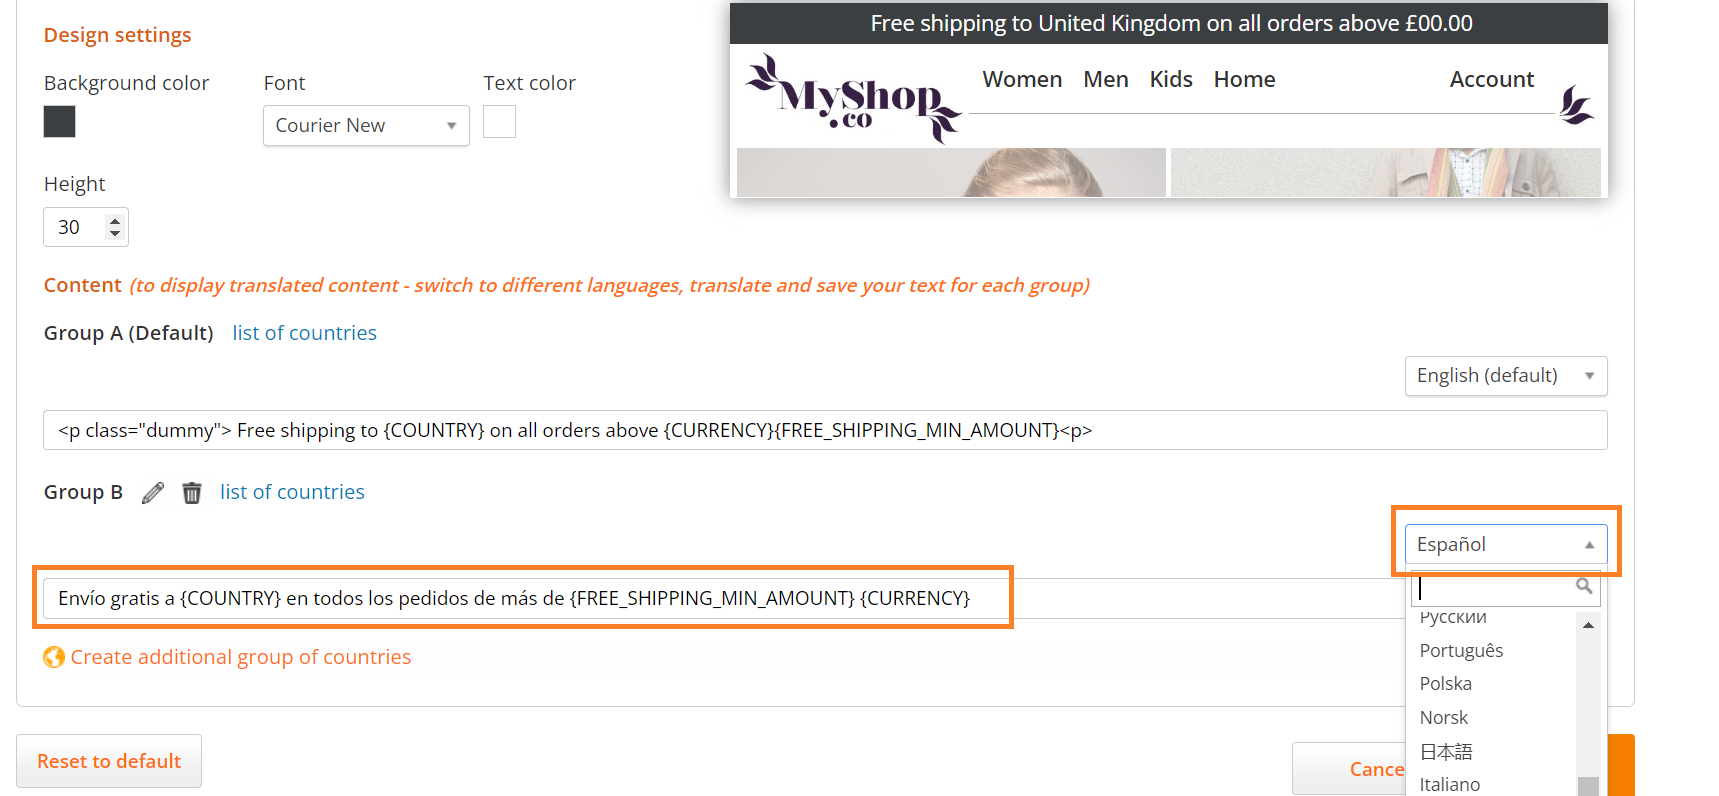
Set up your customised message for the group by editing the text in the Banner text box.
Click Save.
Delete a Group
To delete a group:
Select the group you wish to delete.
Next to the name of the Group, click the trash icon.

Click Save.
Show or Hide the Banner
By default, the standard banner is shown on your website.
To show or hide the banner:
Select Show banner on website to show the banner.

Deselect Show banner on website to hide the banner.
