Draft Orders
Overview
You can use the Draft Orders functionality to initiate an order directly from the Shopify admin:
To create Replacement Orders in Shopify. See Replacements in Shopify.
Place a Draft Order
Place an order over the phone or by email on behalf of a customer and send them the payment link. Customers can also purchase products that are not yet available on the website
To create a Draft Order in Shopify:
You can create draft orders in either the Order or Drafts screens
From your Shopify admin, go to Orders.
Click Create order.

The Create order screen opens.
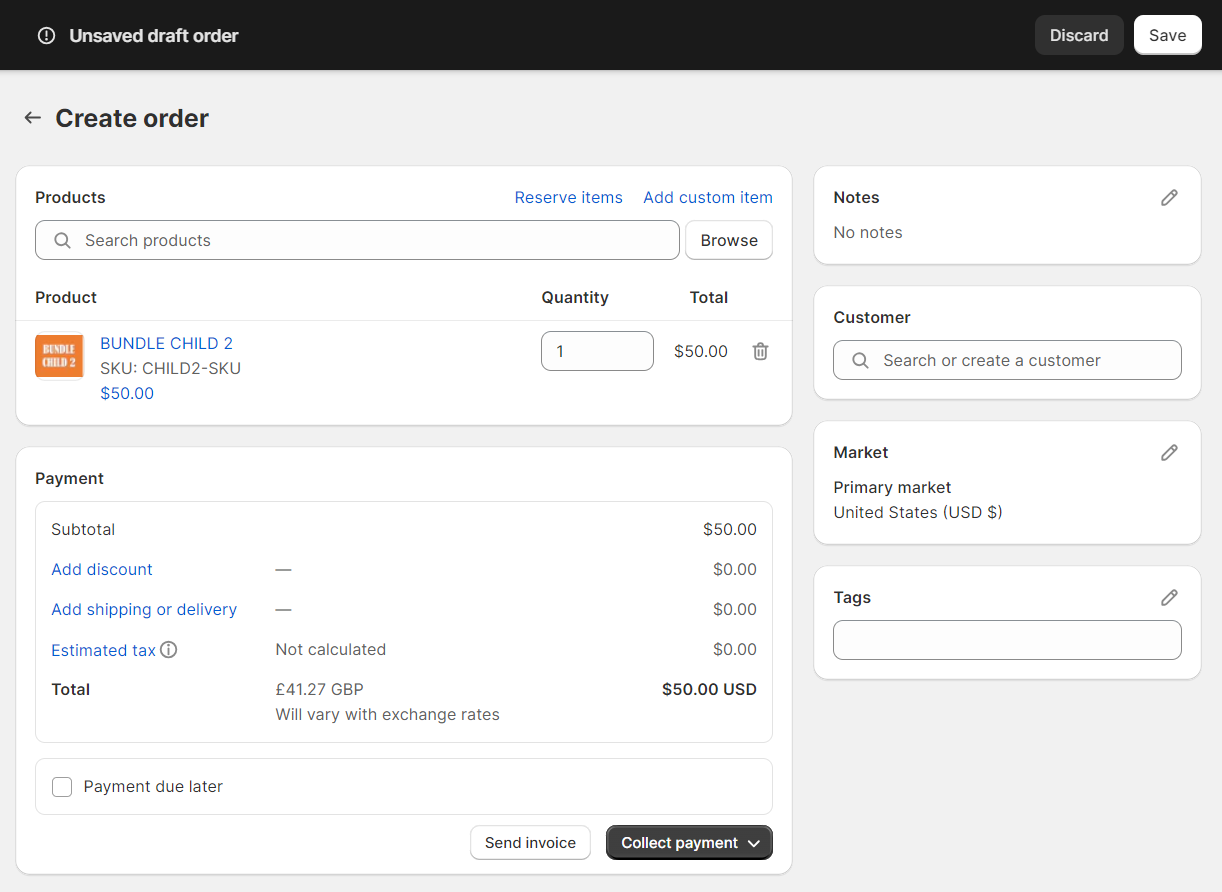
Enter the following information:
Step 1
Add products and quantities.
Step 2
Set one of the following:
Add a customer in the Customer section.
All the customer information is populated and the Market reflects the customer's country and currency.
- OR -
Change the destination country of the order:
Edit (
 ) the Market section.
In the pop-up, select the destination country for the order and click Change market.
Example
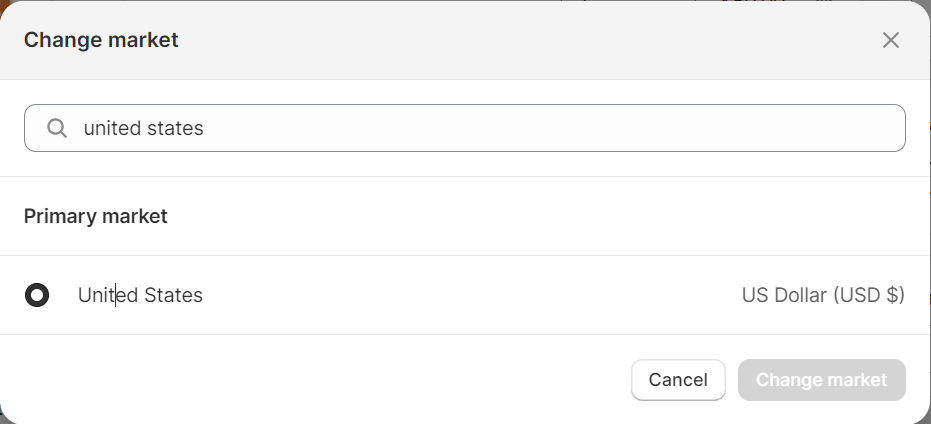
The Market reflects the selected destination country and currency.
Step 3
In the Payment section:
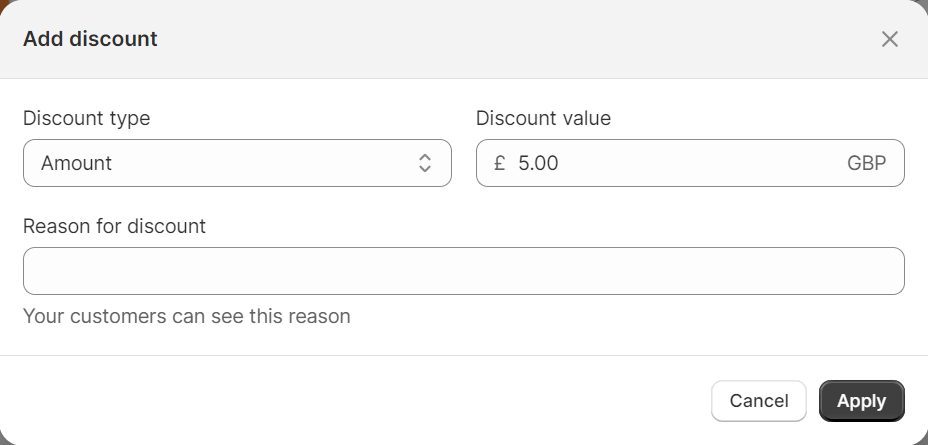
Click Add discount.
In the pop-up, select the Discount type: Amount (fixed Amount or percentage. .
Enter the Discount value and click Apply.
Example:
Click Estimated tax.
In the pop-up, select Charge taxes and click Apply.
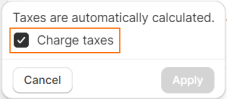
Note that the customer cannot view the Duties and Taxes calculated during checkout (or know if there are taxes).
Step 4
Click Send invoice.
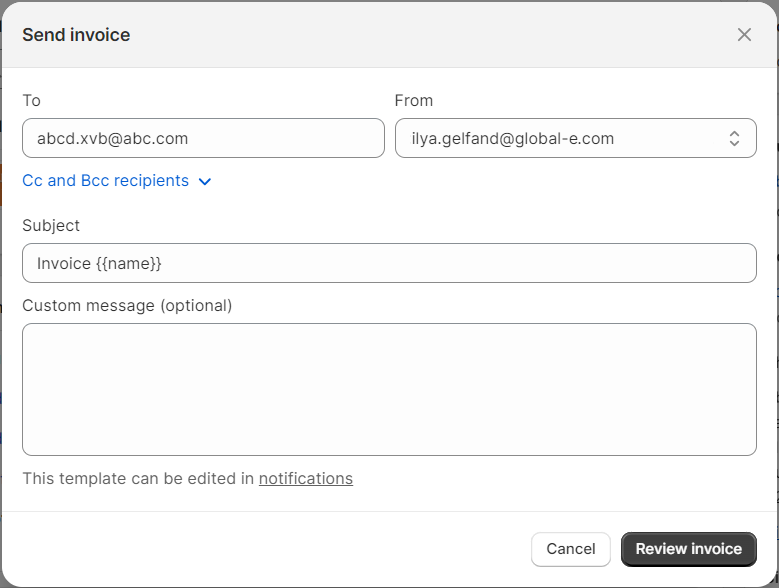
In the pop-up: if you added the Customer (in step 2), the customer's e-mail address is pre-populated. Otherwise, add the email address manually and enter the required information.
Click Review Invoice.
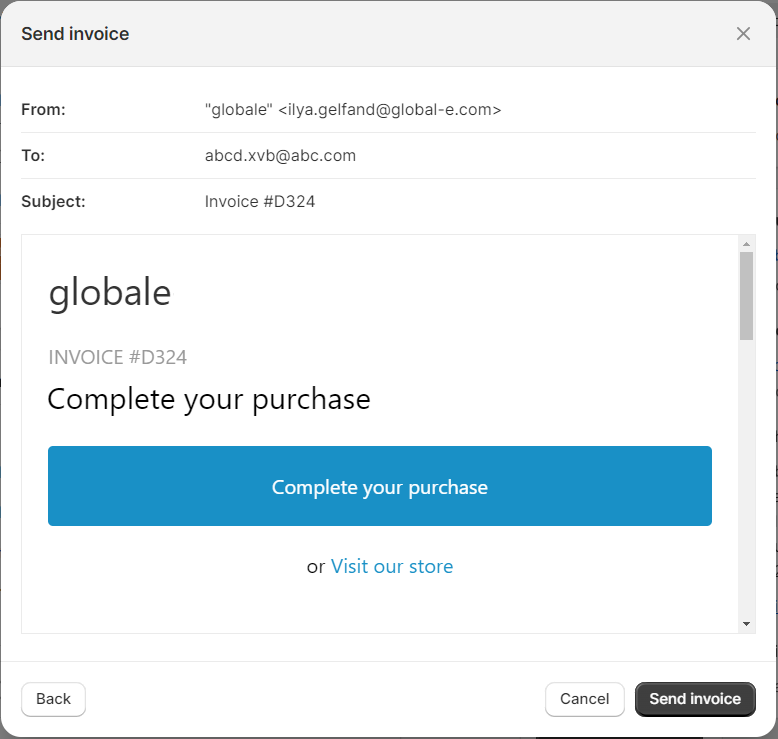
Click Send Invoice again.
Note
The customer cannot change the destination country on the checkout page as the currency and shipping options are calculated based on the selected market when creating the draft order.
Note that the following functionality is not supported:
Payment due later
Collect payment
Influencer Orders
This feature allows shipping free orders to influencers or customers through Global-e, free of payment from customers.
Follow the steps below to set up influencer orders.
Create an order
On the top-left of the Shopify Admin page click Orders > Drafts.
The Drafts page opens.
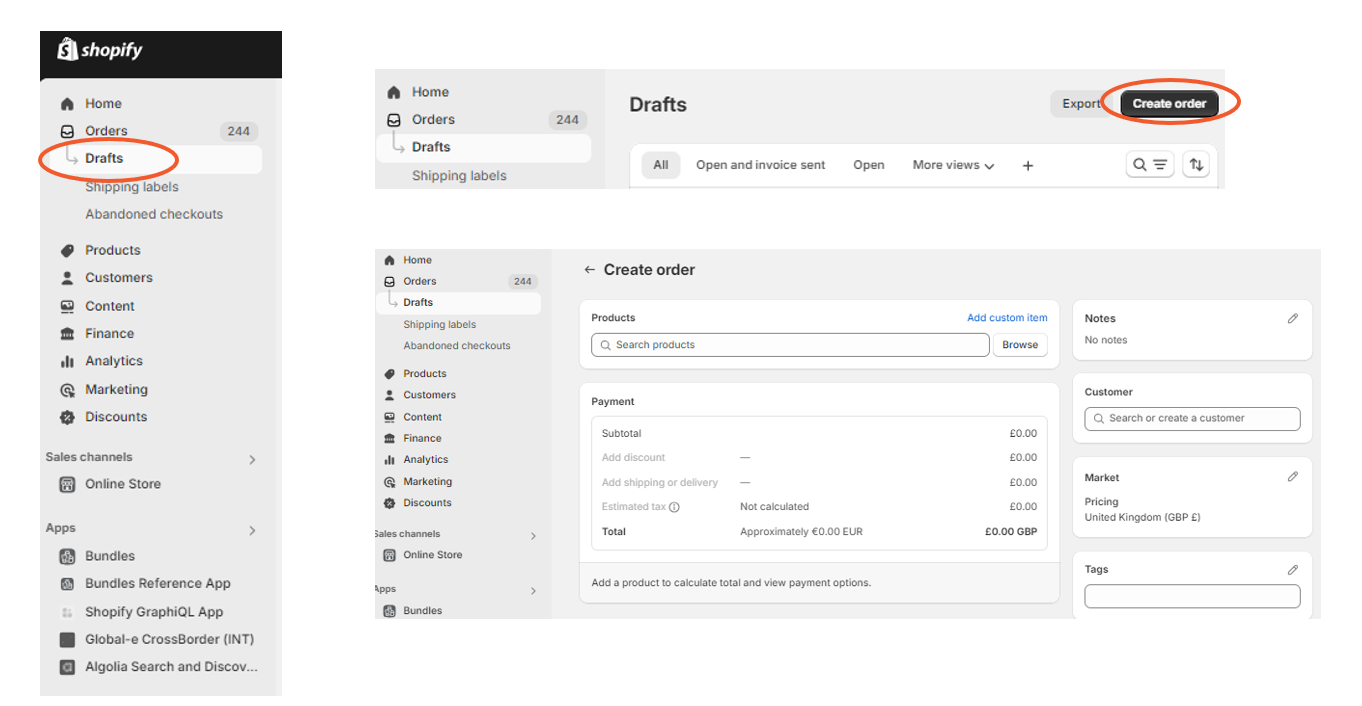
At the top-right click Create Order.
The Create Order page opens.
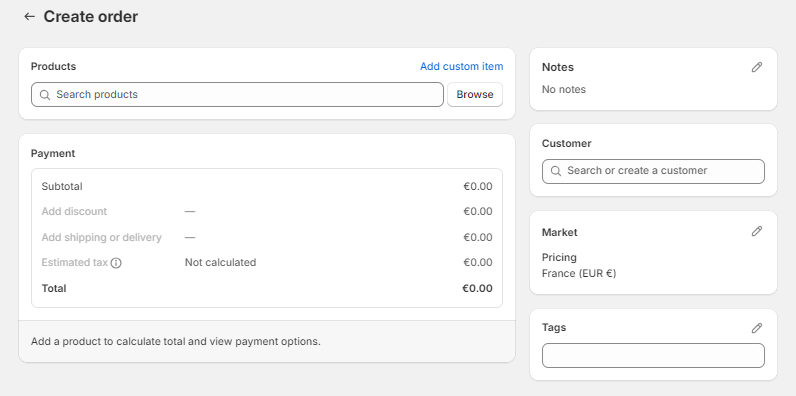
Add customer details
In the Customer section, click the search bar to view a list of your customers.
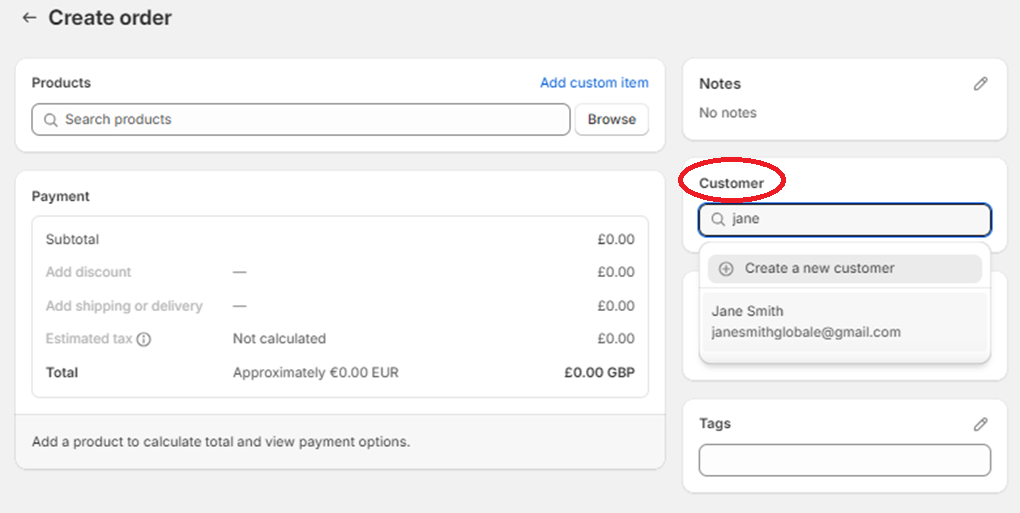
Select the name of the customer/influencer.
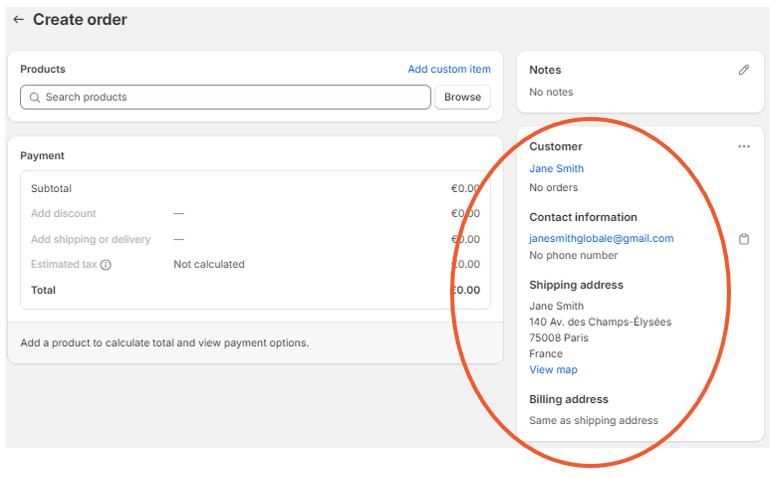
The customer details are displayed on the right.
Add products
Next to the Products search bar click Browse.
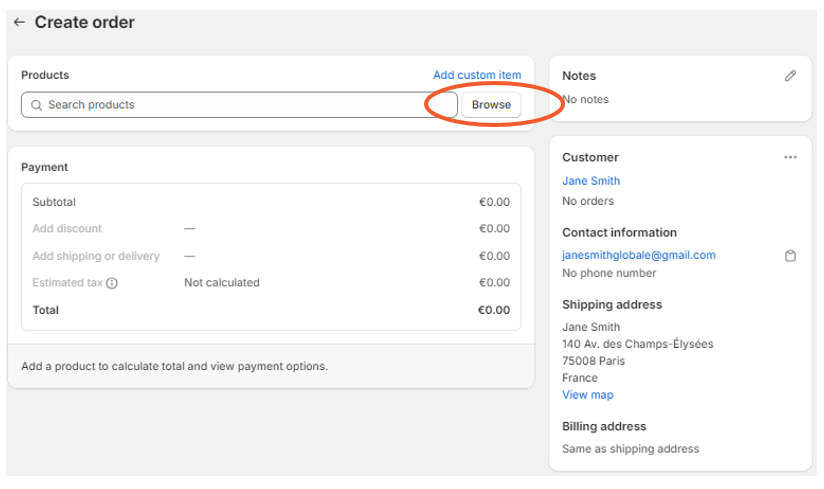
A window opens with a list of your products.
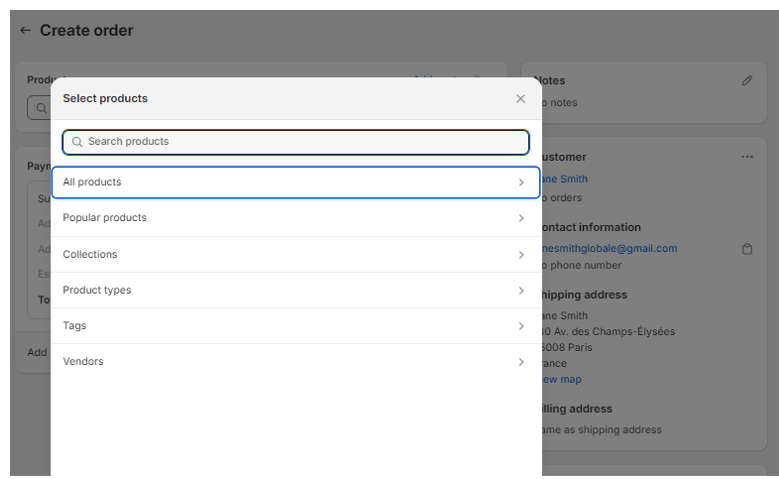
Select the desired product/s and click Add.

The products are added to the order.
Add the discount
In the Payment section click Add discount.
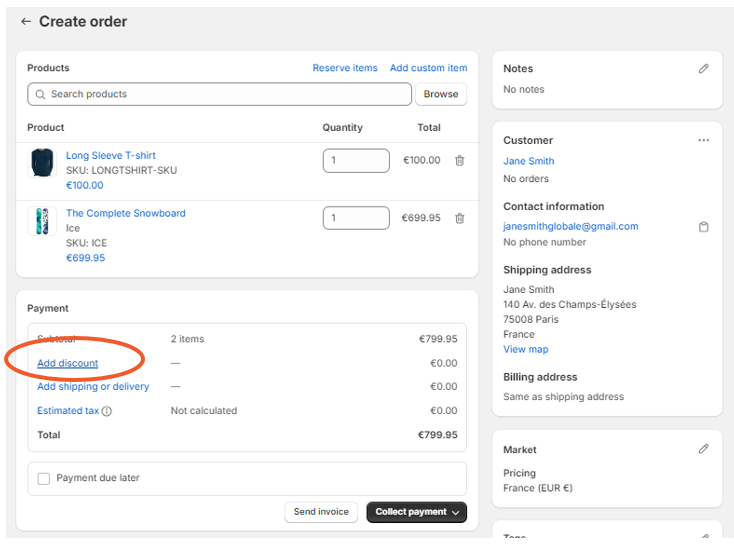
The Add Discount window opens displaying a list of available discount codes.
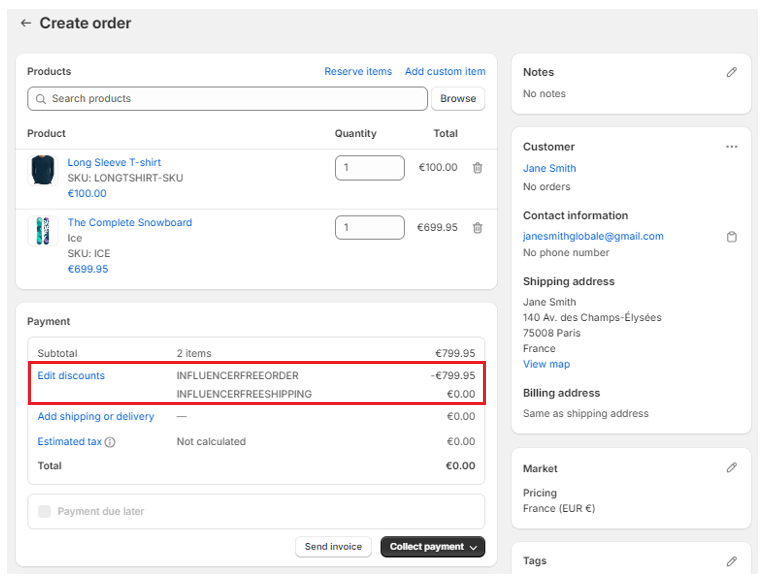
Select two discount codes, one for the order and the other for the shipping, and click Apply.
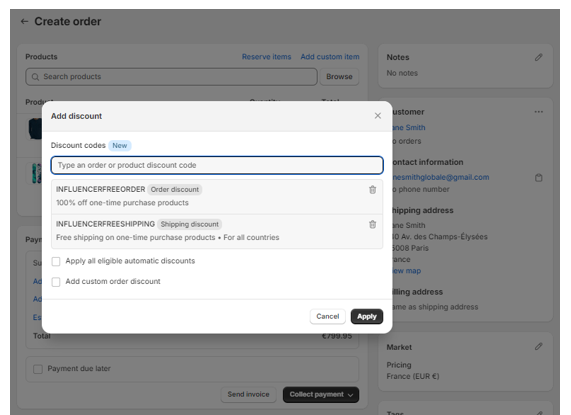
Both discount codes are applied to the order.
Add the shipping method
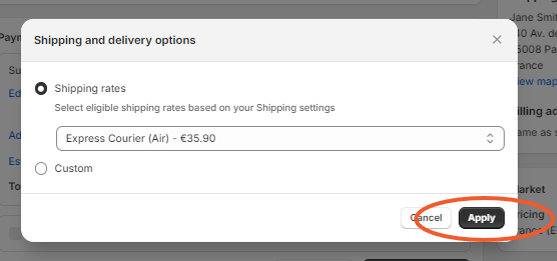
Click on Add Shipping or delivery.
The Shipping and delivery options window opens.
Click on the Shipping rates drop-down menu and select the desired shipping option.
Click Apply.
Create the order
At the bottom of the order screen click Collect Payment > Mark as Paid.
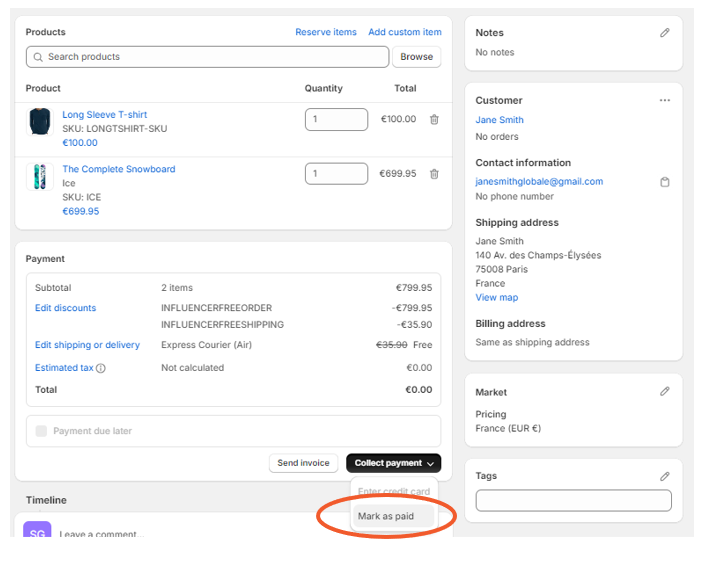
The Mark as Paid window opens, confirming the creation of a free order.
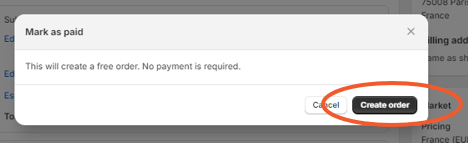
Click Create Order.
The order is finalized and can be viewed with the rest of your orders. This order can be processed in the exact same way as the other standard Global-e orders. This order can be processed in the exact same way as the other standard Global-e orders.
